
I have been having lots of fun making some Clone Wars character wallpaper for you guys, and have been getting lots of positive feedback. So I thought I would take some time to describe the process I use to make the wallpaper, and provide some resources if you are interested and trying it out yourself.
Objective: Make high resolution, multi-layered character wallpaper.
Resources you can use:
Gimp Image Editor
This is a free editor that works with layers like Photoshop does. It is relatively easy to use, and with some practice, can become a powerful tool.
Pixlr.com Image Editor
If you don't feel like downloading software, this site can do basic layer manipulation like Gimp and Photoshop, but is less dynamic. However the interface is a bit more user friendly.
Picnik.com Image Editor
This free online editor can't handle multiple layers, but its great for enhancing and adding cool effects to your basic wallpaper made with Gimp or Pixlr.com.
Wallpaper Abyss
This site contains thousands of free high resolution abstract and sci-fi wallpapers that can be used as the background for your custom wallpaper.
Google Image Search
If you are looking for a specific background or character image, you can search through millions of images on the web with Google. Tricks include clicking "similar images" or "view all sizes" to find the best version of an image, and making sure you are viewing the "full image size" before you download it to your computer.
Clone Wars Images on Wookieepedia
Here you can find a large gallery of Clone Wars character and vehicle images that you can use in your wallpaper.
Process:
Step I - Find your images
Before you can make some awesome wallpaper, you need to get all the different pieces together. You can start be predetermining what character(s) and background type you want and then search the web for them, or you can just browse through catelogs of character and background images, looking for inspiration. Generally you want the colors and styles of the images to match or compliment each other to an extent. But remember that the color doesn't necessarily have to play a roll in what background you choose, because you can easily use a simple image editor to change the color around a bit. For instance if you find a really cool green hued nebula background, but you want it to go with a Sith character, you can always open the background in an editor and adjust it to a more reddish coloring. Watch for words like "Hue", "Color", and "Tint" in the editor's menu.
One other important thing to keep in mind when looking for images, is the image resolution. Typically, you want wallpaper to be both a large size and good quality. Personally I try to make my wallpapers at least 800 pixels high and 1400 pixels wide. A good ratio to use is 9 by 16, the dimensions of most screens these days, so 900 by 1600 pixels is a safe bet for compatibility.
Step II - Open images in a multi-layer editor
Once you have at least one background and one foreground image to work with, open both of them in an editor like Photoshop, Gimp, or Pixlr.com. Use standard conventions to open the background image first and then make sure to open all the foreground images as separate layers. Usually menu options like "open as layer" will do this. Once you have all your images open as separate layers, you might need to add an alpha channel to them. This can be accomplished in Gimp by selecting on the menu "Layer" > "Transparency" > "Add Alpha Channel".
Step III - Position and blend images
Sometimes it is easier to position the different images first, and then blend them together, and other times it is easier to blend them, and then play around with the positioning. So just move them around as you see fit during the blending process. The two most effective tools to blend images are the magic wand tool (fuzzy select in Gimp) and the eraser tool. It is generally easier to blend out the background of a foreground image if it is all one color. That's why when chosing character images, you should look for ones with monotone backgrounds, like black, gray, or white. If the backround of the character image is all one color then you can use the magic wand to select it and delete it. But sometimes there is a jagged outline left along the edge of the character. The easiest way that I know of to get rid of this, is to zoom in a bit and use the eraser tool to erase along the edges. Try to use the fuzzy eraser to do this, because it smooths out the transition between the layers. If the character has a lightsaber, make sure to go around its edges with the eraser tool to blend it into the background.
Step IV - Save the wallpaper
This is actually an important step, because different formants serve different purposes. If you want to save the image in a way that preserves the different layers, so you can go back and change the background or the positioning later, make sure you use the editor's format. Gimp uses .XCF for instance to save project files. If you want to merge all the layers together, but retain perfect quality, save the image as a full quality .PNG or .JPG file. If there is any transparency that goes through every layer including the background, make sure to use the .PNG format.
Step V - Enhance the wallpaper
This is where the fun begins! Once you have the basic version of your wallpaper, you can upload the file to an online editor like Picnik.com where you can add all kinds of cool effects. My favorite effect is making the whole image greyscale and then tinting the character's eyes and lightsaber red to create an "evil" version of the character. In this step you can also add captions and enhance the saturation and contrast of the image to make it more dynamic. Make sure to save the wallpaper at the highest quality of .PNG or .JPG available, so it will look pristine on people's screens.
Supplements:
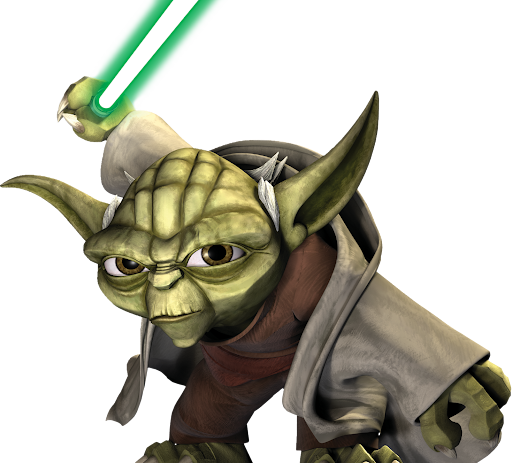
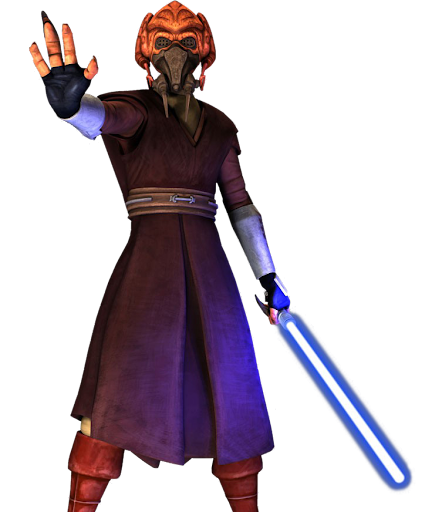
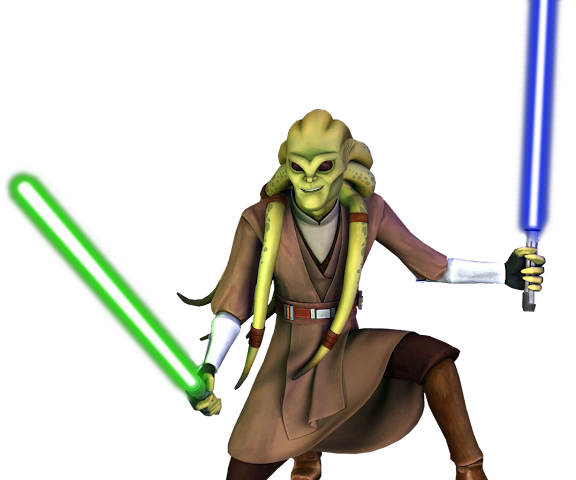
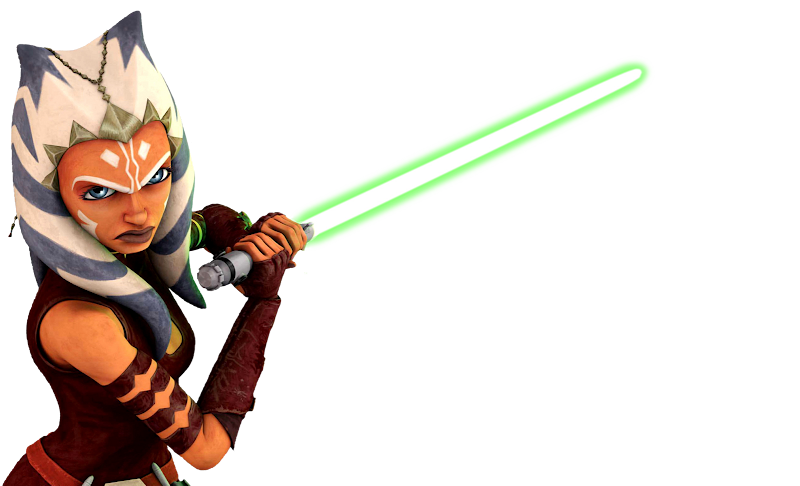
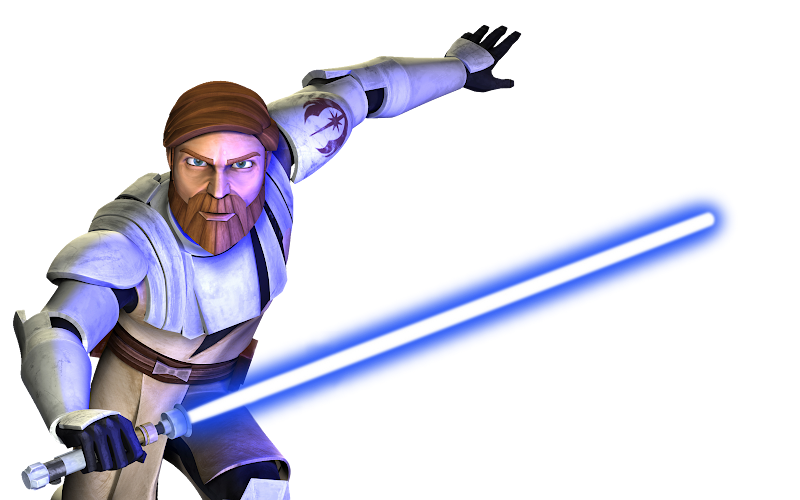
To get you started I am posting five .PNG character cut-outs that already have transparency built into them. You can open them in an editor and they should fit perfectly over any background. This way you can practice all the other steps, without having to worry about the quality of the blending. Even your first wallpaper could look professional!
Here is a link to where you can download the images in high resolution in a zipped folder.
If you have any questions or comments about this article feel free to leave them in the comments or email me at cterra5@gmail.com. If this inspires you or helps you make any wallpapers, I would love to see them. You can post your creations to the blog's Facebook page.
No comments:
Post a Comment